The process - from start to finish
Working with clay is a relatively slow and repetitive process, and it is in this process that I find a feeling of space and calmness, a feeling that I hope will translate into the pieces I produce and the values of the brand itself.
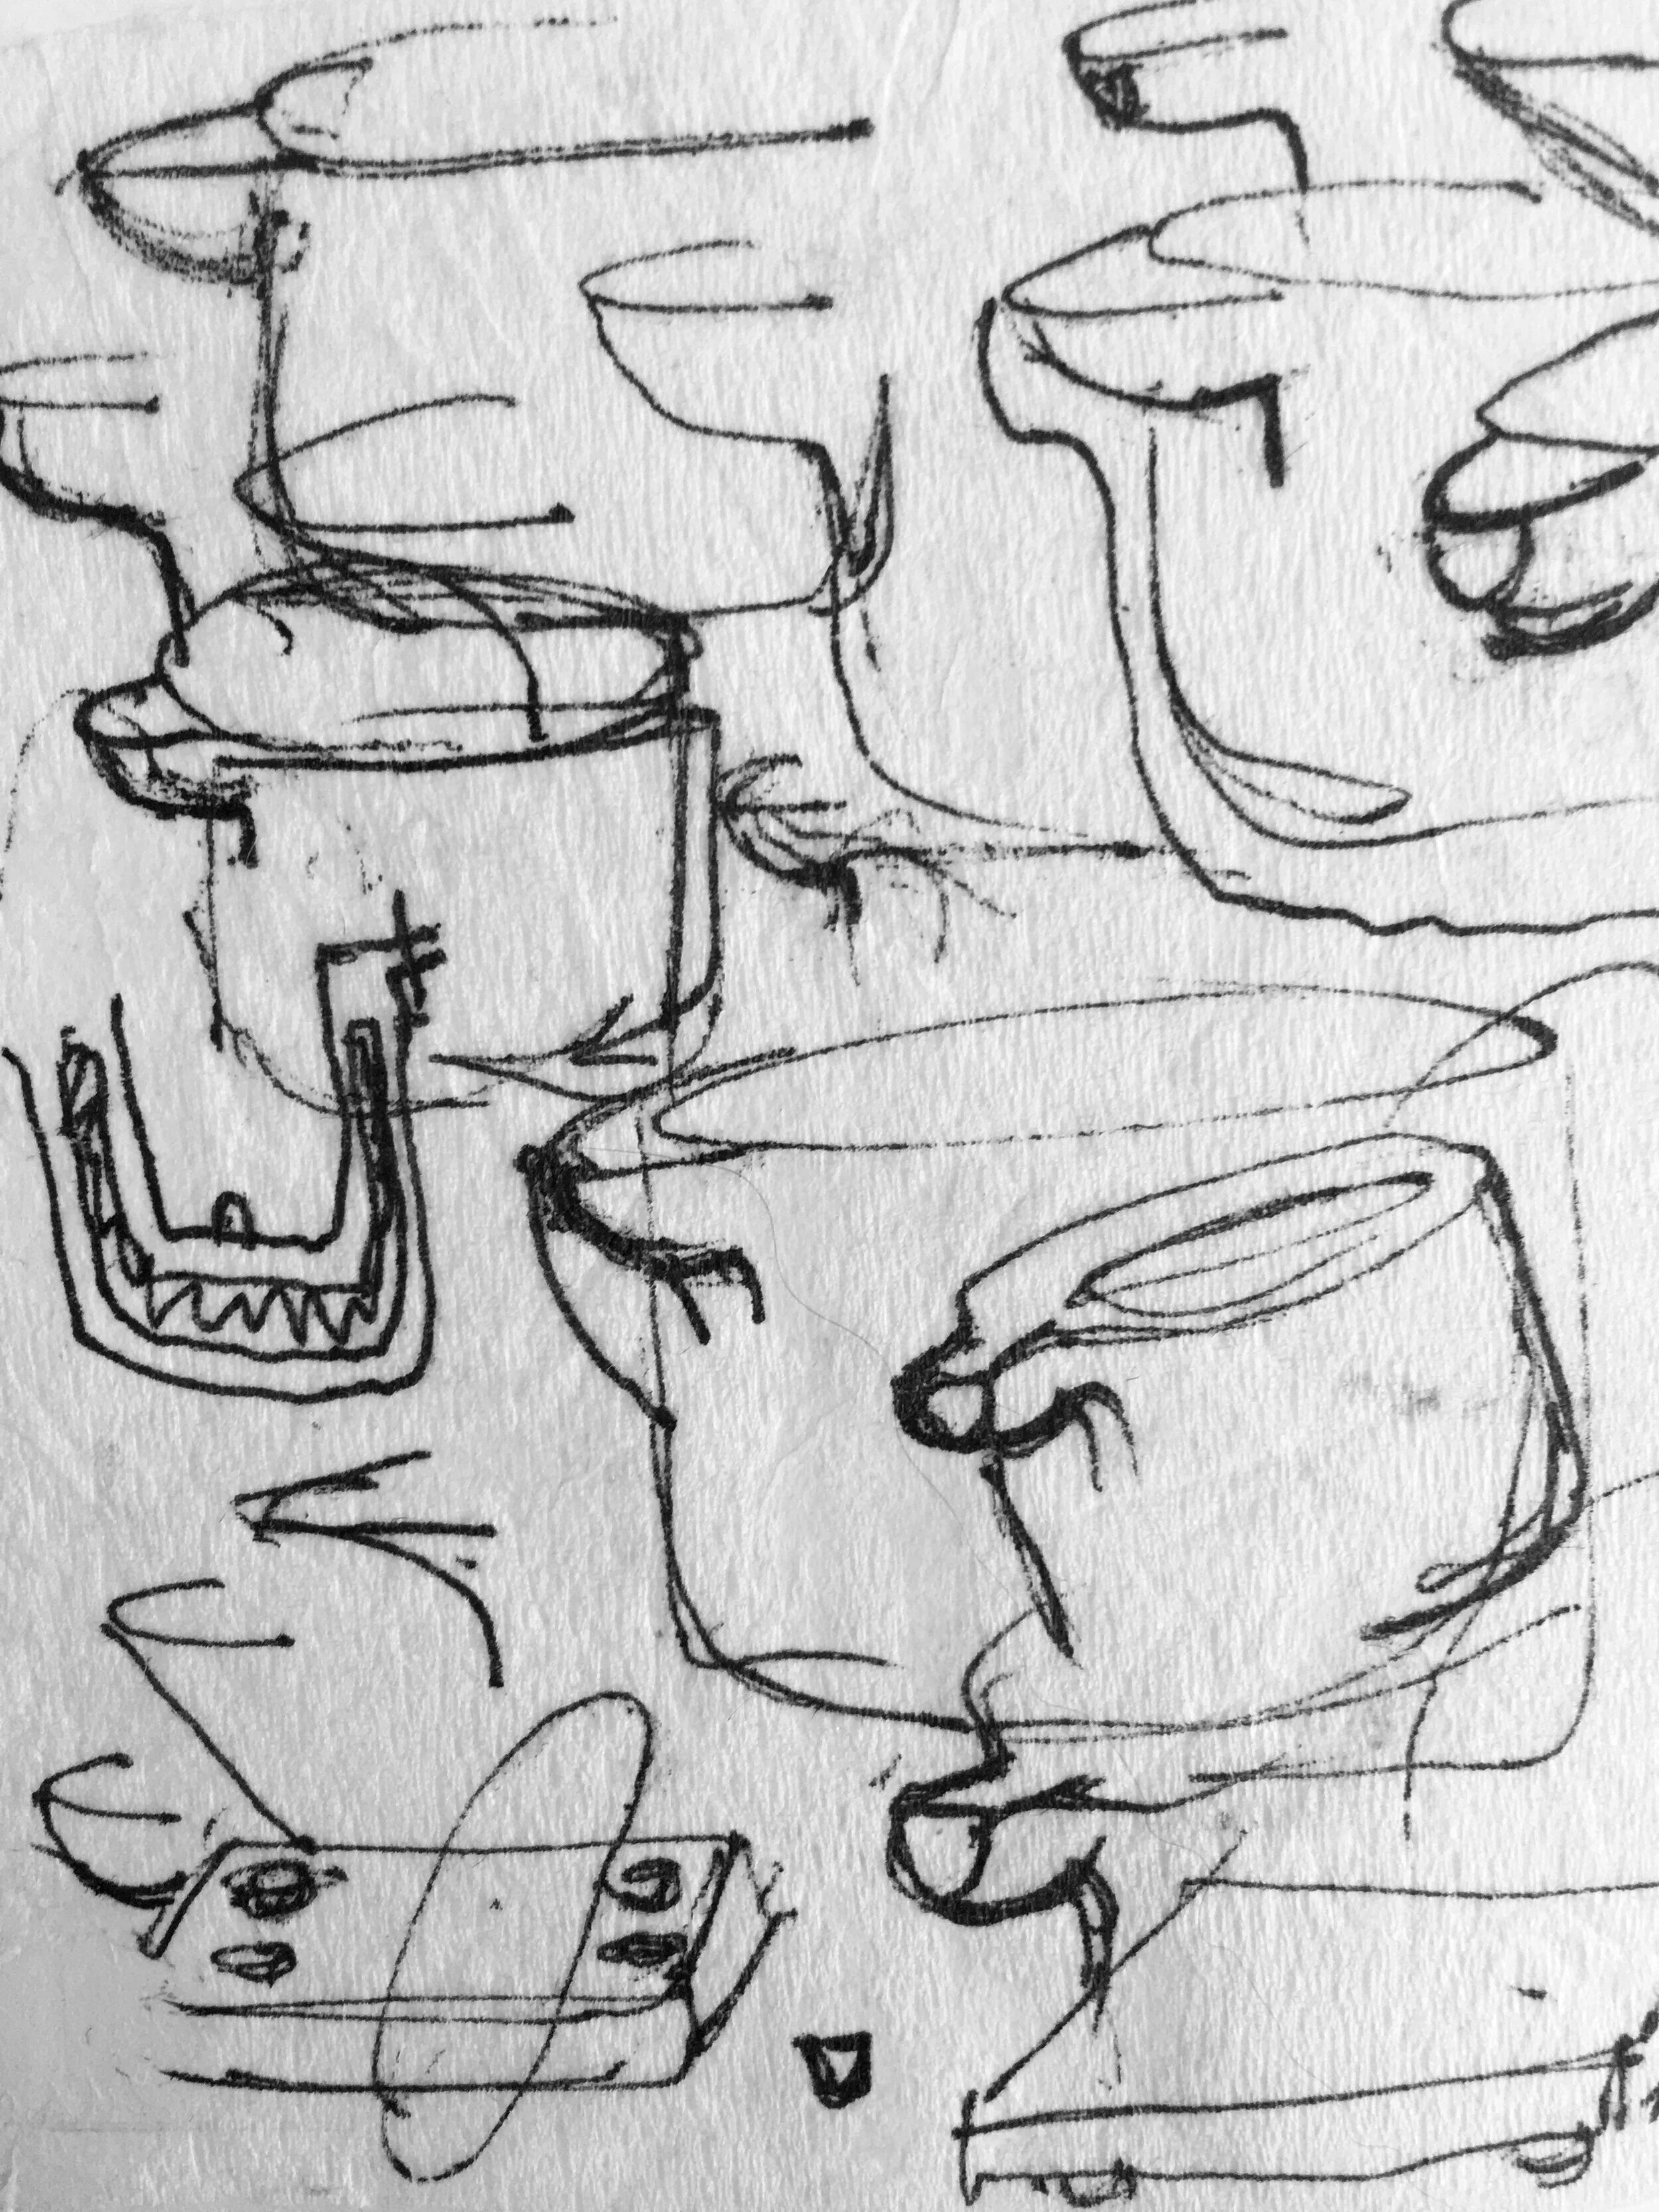
I have always loved to draw, letting go of my hand and letting it pass to the paper everything that my head is keeping inside.
Driven by my background in design, every collection is born from a thorough and creative design process. I start by sketching the pieces on paper to feel the shapes and volumes and to get an idea of the proportions I aspire to achieve!


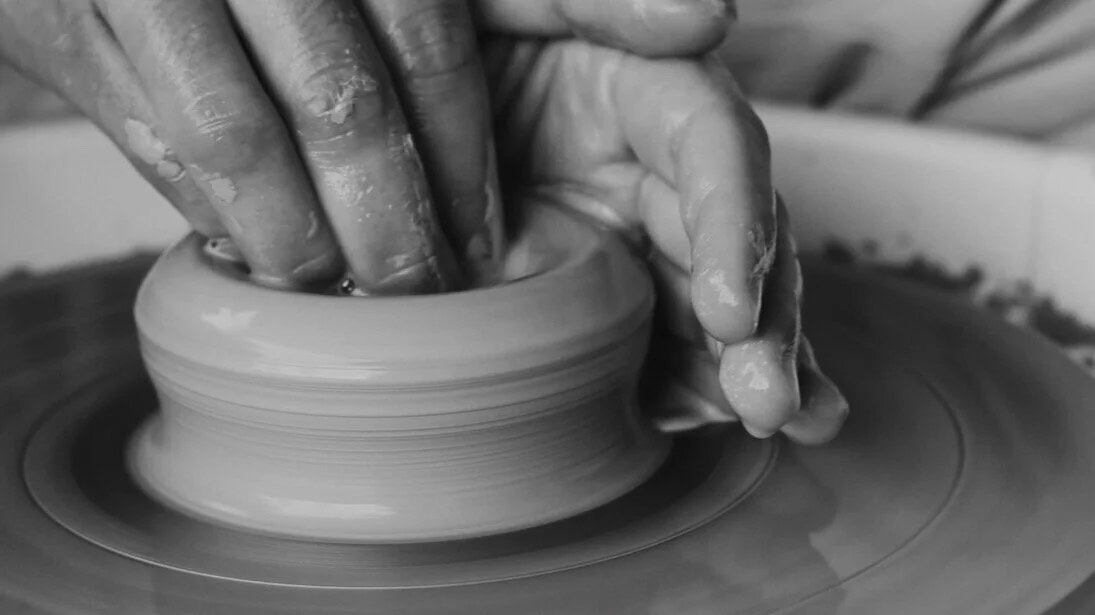
Despite making the pieces using my own moulds, I often use the potter’s wheel to make the prototypes, making my drawings come to life and quickly informing the final result.
As soon as I make the prototype on the wheel and I am confident of its result, I make the plaster model with the help of the wheel and the profile of the piece that I previously designed. When I have the model sanded and completely soft, I am ready to make the plaster mould.
The whole process until the mould is finished is a very time-consuming process, which requires a lot of patience, precision, attention to all details and also a generous dose of frustration.


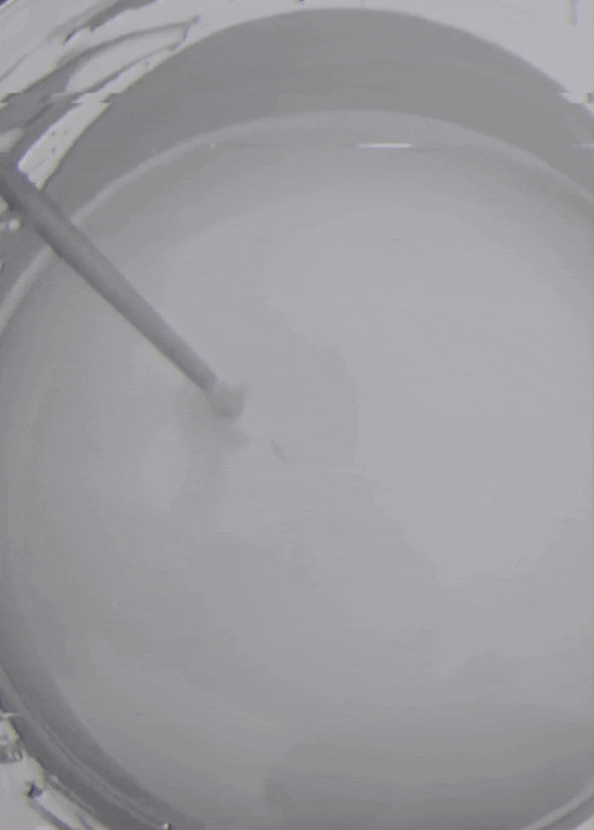
When I have my mould ready to be used, it is time to show some love and affection to my slip (liquid clay). With the help of a mixer, I blend my slip very well until it is completely uniform. Simultaneously I put on some music to lighten up my mood! Then, I transfer the slip through a strainer to prevent any grained particles to ruin my piece.
I slowly pour the slip into the mould until I reach the top. I wait about 3 songs until the mould absorbs the water from the outer part of the piece. I slowly pour out the excess slip and leave the mould facing down allowing the excess to be leaked out.


I then wait some time, allowing the slip to dry inside the mould and after that I carefully trim away the top portion of the cast. I slightly separate the piece away from the walls of the mold the same way as you demould a cake (which is also very satisfying)! I wipe away any seam lines and clean up the edge, bottom and any other inconsistencies in the clay cast. I leave the piece to slowly dry covered in a plastic or fabric sheet.


As soon as it is bone dry, it is ready to go to the kiln at more than 1000º (what we call “biscuit” firing). Finally, the piece is sanded, washed and glazed. It goes back to the kiln at a high temperature and later on it is finally ready to go to your homes.


The whole process takes a lot of time and effort, sometimes things can go wrong but most of the times they go as they should! I am aware that what is done slowly is made to last. The handmade is peculiarly slow, and the enhancement of details, the irreverent perfection of handmade pieces combined with a commitment to produce uniqueness is what motivates me to work every day.
There is poetry in the process, but there is even more at the end.